Stop by DIY Crush for awesome craft inspiration and free patterns!
This post is being updated. Please check back soon!
Whimsy Couture Sewing Patterns
Childrens Sewing Patterns
Stop by DIY Crush for awesome craft inspiration and free patterns!
This post is being updated. Please check back soon!
 Our Newest Sewing Pattern, The Bow Tie Shorties PDF Sewing Pattern Is Listed.
Make adorable bow tie shorties in 2 lengths. The longer length is parent and school approved!
You will get a HUGE range of sizes in just one pattern. This is a great value for you!
Easy to follow with lots of colored pictures (great for the advanced beginner with some sewing skills)Look what’s included:
Check out some of our adorable tester pictures!

Ready to see more and this pattern to your cart? Click HERE!
….continueing baby girls’ room reno – see phase ONE here!
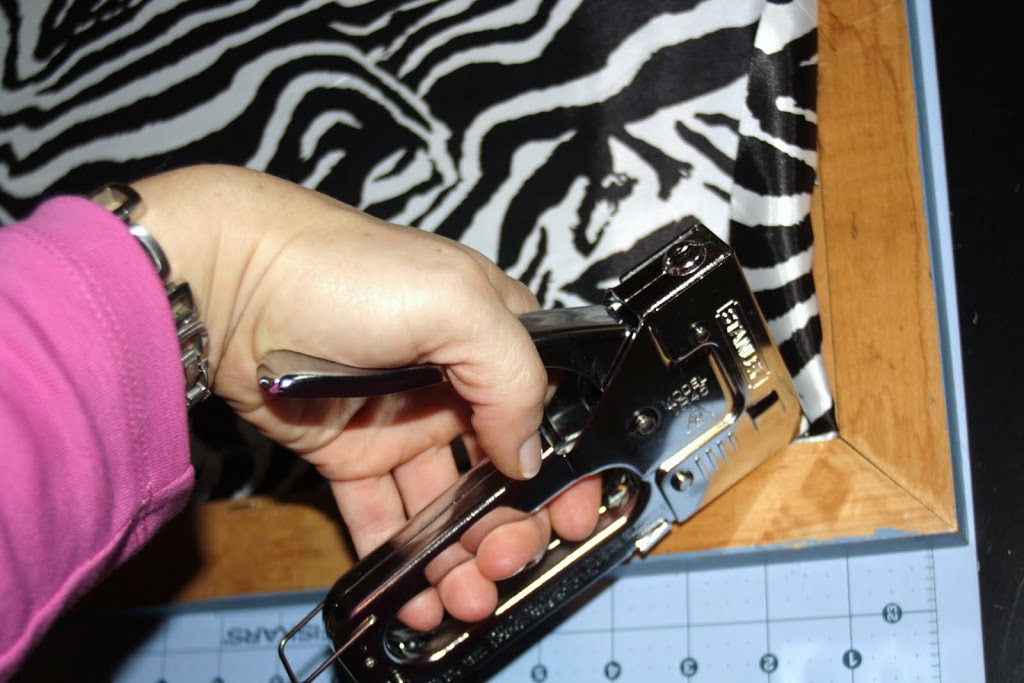
I bought these empty frames a while ago and painted them aqua and let some of the original color peek through:  With my staple gun ready, I cut some fabric in zebra print to size to cover one of my frames backside. Fabric print facing down……….
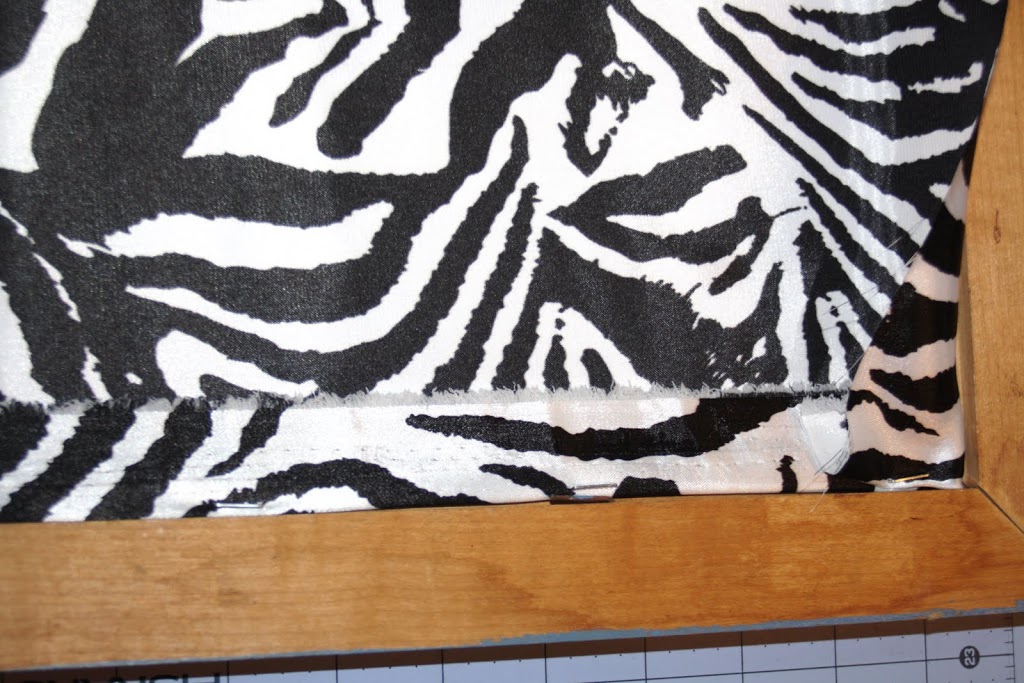
 ……then I folded some of the fabric in and stapled it to the inside of the frame. There is a small ledge where normally the glass goes in……….
 …….I continued like this and gently pulled the fabric straight to avoid any wrinkles or waves:
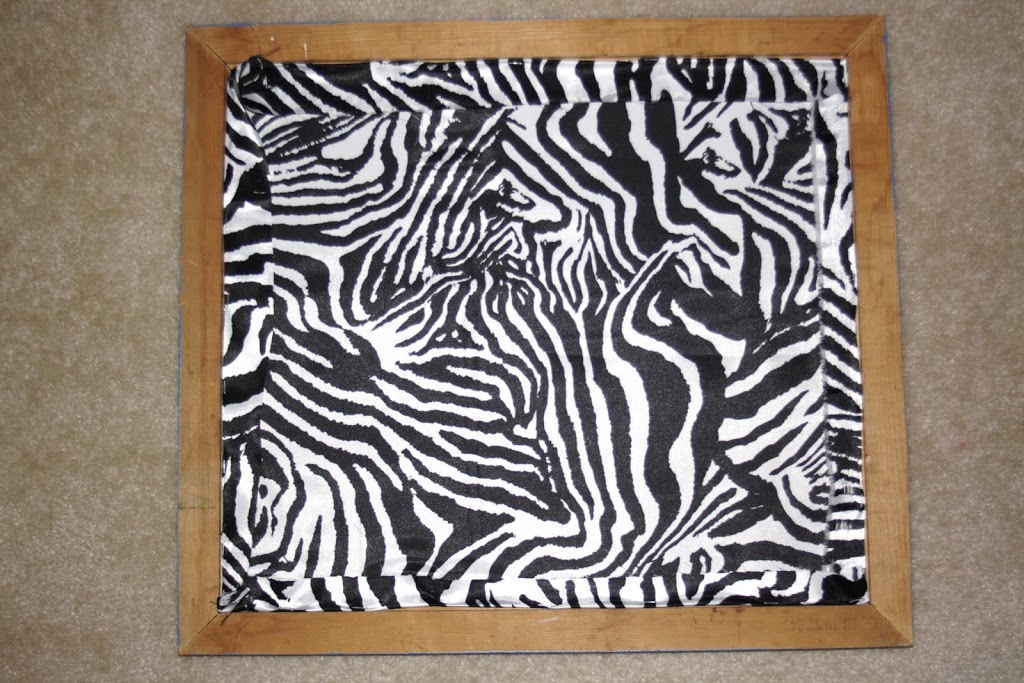
 This is how my finished zebra artwork looks like now from the back:
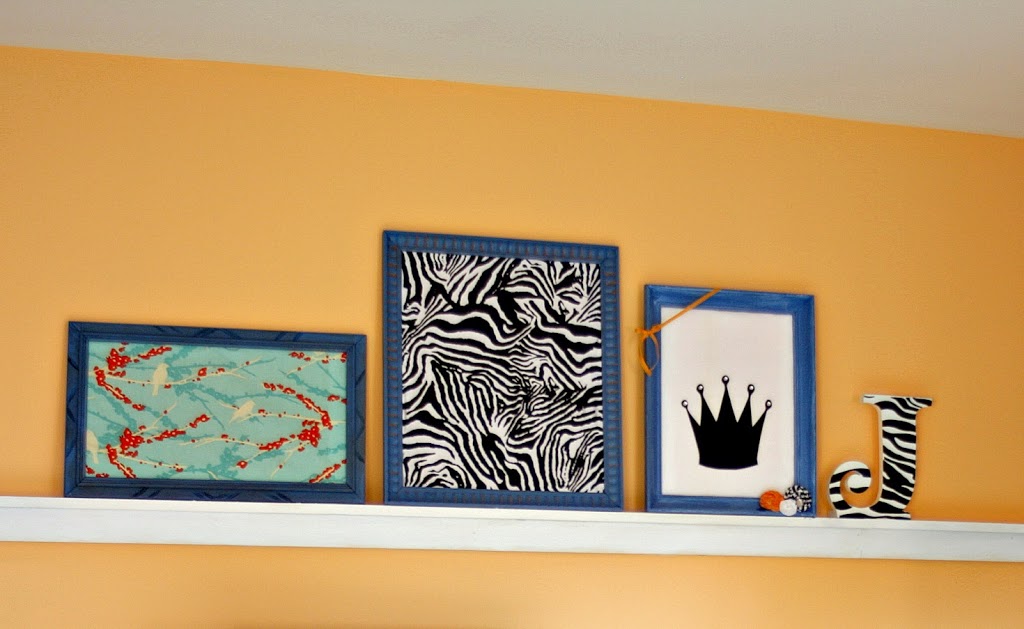
 And this how the “art wall” looks like so far done with just a few material for around $20. The picture frame on the left got a pretty Joel Dewberry print called AVIARY and the one on the right a crown applique made by me. The “J” is a half off purchase from Hancock Fabrics :
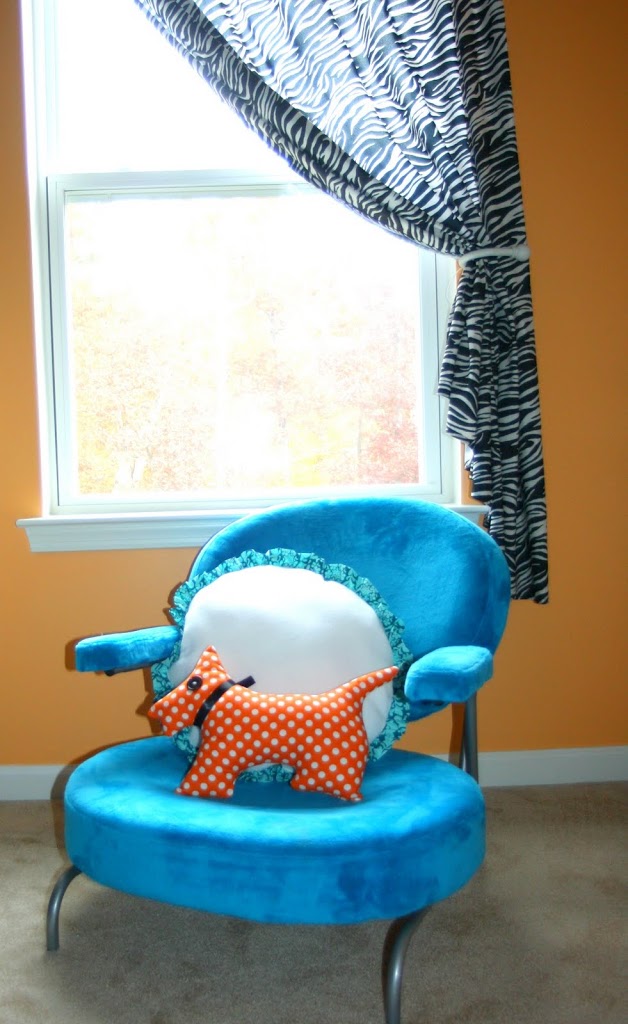
 On the window side I made her a little reading nook with a thriftstore find of an aqua plush chair for $20, a handmade round ruffled pillow and a plushie in Scottie shape made by me (pattern available soon!)
 Stay tuned for an update on her room!


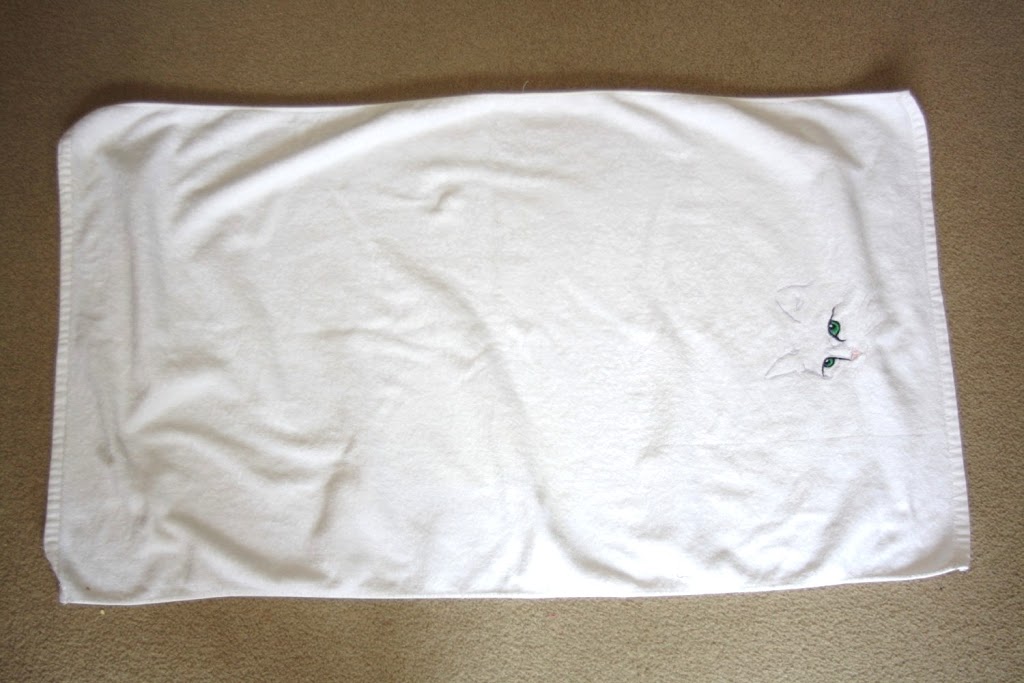
Today I want to share a quick tutorial for an old towel that becomes 2 ruffled guest towels:) I had this super soft but slightly stained towel:
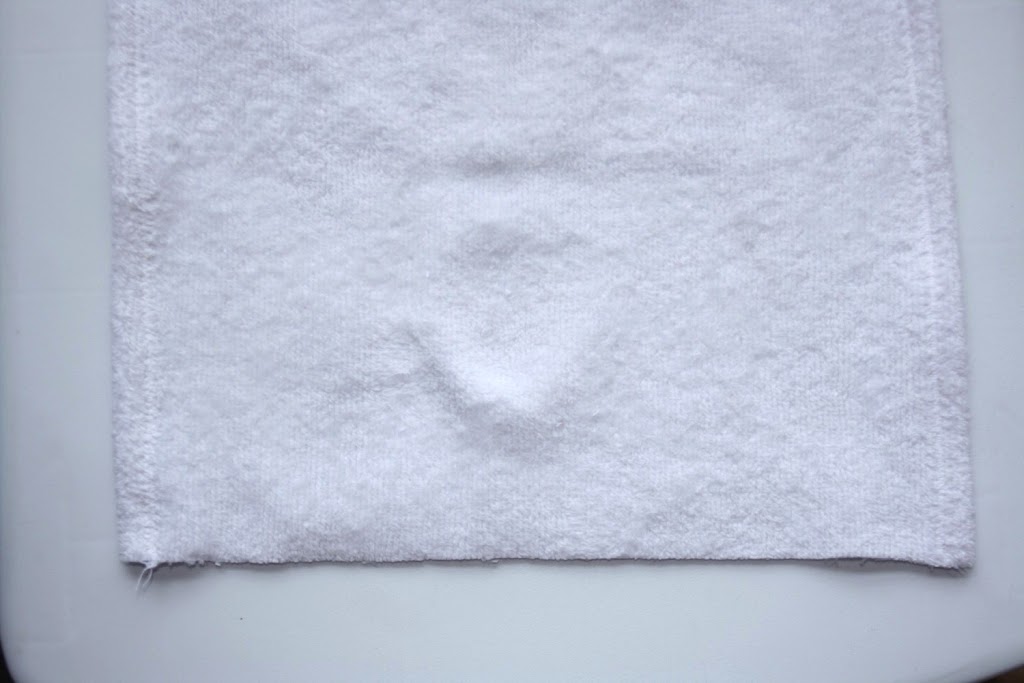
 I trimmed the best 2 pieces out of the towel:
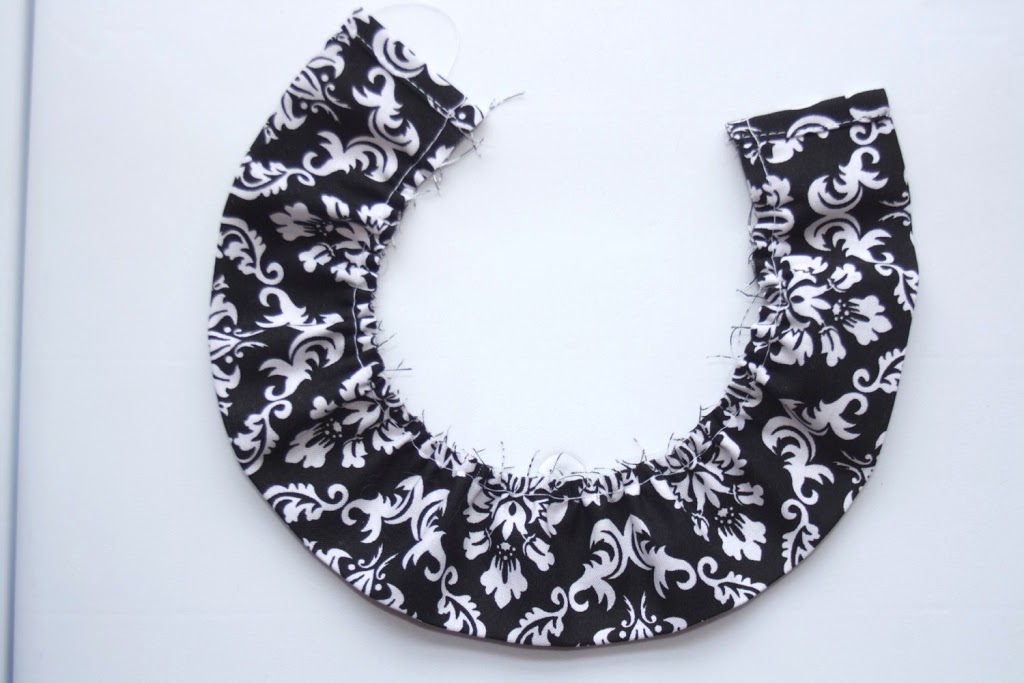
 To make the ruffle, I cut a 4″ wide strip of fabric, twice the length of my new towels small end. I folded it over with wrong sides together and pressed it:
 To finish the sides I folded the edge in 1/4″ and once again 1/4″ and pressed it. Then I sewed it down (repeat with other side):
 To ruffle my fabric strip I set my machine to the longest stitch and my tension to the highest number. This should automatically fabric. This is now my ruffled strip:
 I finished my towels long sides by serging/zigzag stitching the edges, then folded them over 1/4″ and pressed them. Then I sewed them down:
 It’s time to pin the ruffle to the slim end as shown:
 I sewed the ruffle on with backstitching beginning and end. Then I serged the raw edge (you can also zigzag stitch it).
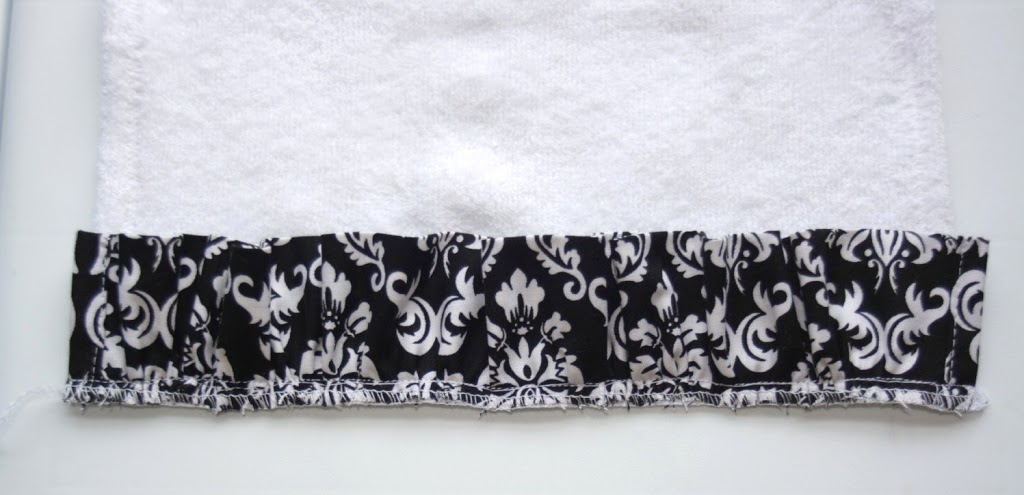 Then, last step, I top stitched my towel from the right side close to where the fabric meets the towel:
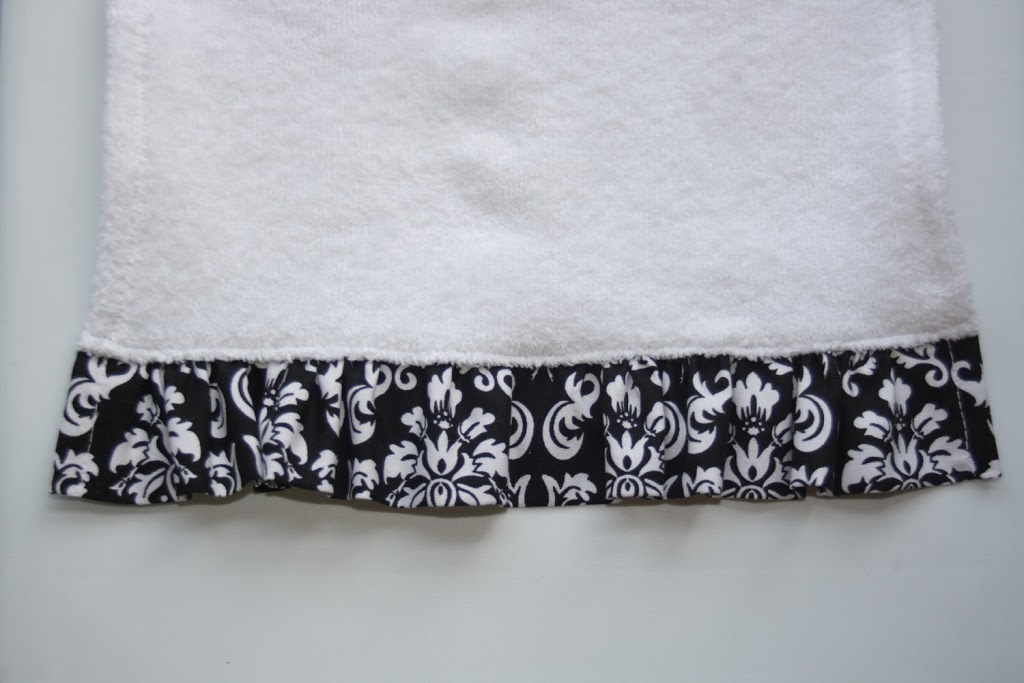 Repeat with other small end of towel, make 2, then you’re done!:)
What do you think?![]()